
Turn Event Photos Into an Instagram Recap Video (2026)

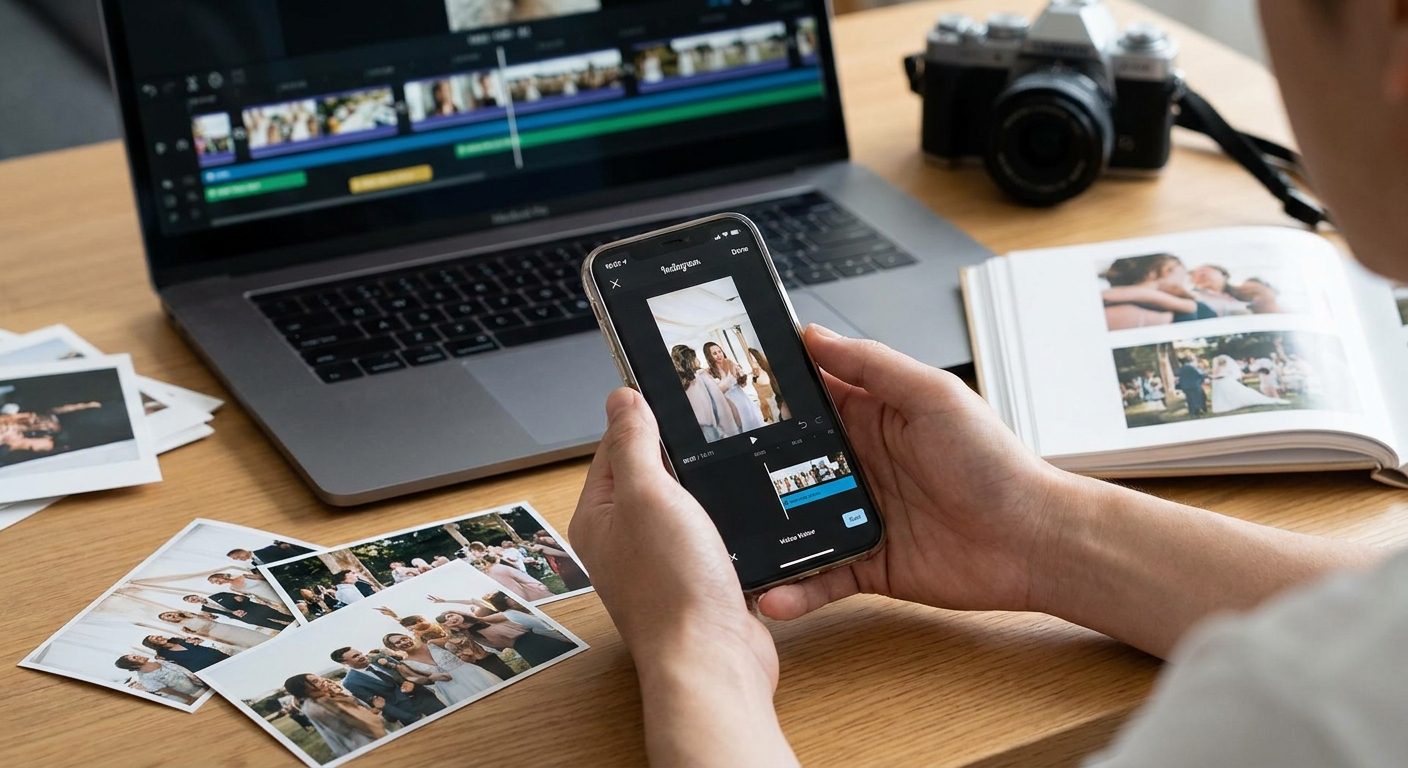
Your event is over. The photographers uploaded 400 shots, the client wants a highlight video by Monday, and Instagram Reels reward posts that go live fast. Here's the exact workflow to turn a folder of event photos into a recap video that keeps people watching past the first three seconds.
TL;DR
- Cap your event recap video at 15-30 seconds for Instagram Reels in 2026 — longer cuts lose viewers by second 8.
- Pull 20-30 photos, not 200 — a tight edit beats a long slideshow every time.
- FotoOwl's personalized highlight reels turn a tagged event gallery into a shareable video without manual editing.
- Trending audio plus a 9:16 export gets full-screen placement in the Reels feed.
- Post within 24-48 hours while guests are still tagging themselves in the gallery.
Why this matters
A recap video does more than close out an event. It's the piece that gets shared, tagged, and re-posted by guests — free reach a static photo dump never generates. Photographers who deliver personalized highlight reels for wedding photographers alongside the gallery report more referral bookings, because the couple's friends see the video before they see the invoice.
Event recap videos also outperform single photo posts on completion rate. Instagram's own creator guidance has pushed Reels under 30 seconds for years, and that hasn't changed heading into 2026 — attention spans on the format are shorter, not longer.
What you'll need
- A culled folder of 20-30 photos, not the full event gallery
- A reel-editing app (mobile or desktop) or an AI tool that auto-generates event reels
- One piece of trending or client-approved audio, 15-30 seconds long
- Guest-submitted photos if you're covering a wedding, festival, or corporate event with a shared gallery
- Export settings locked to 9:16 vertical, 1080x1920 minimum
- 30-45 minutes of editing time, or minutes if the reel generates automatically
The steps
1. Cull ruthlessly before you edit anything
Every wasted photo slows the pacing of the finished video. Pull the 20-30 strongest frames — the ones with clear faces, motion, or emotion — and delete the rest of the shortlist. Skip any photo where you have to explain the moment; if it doesn't read instantly, it doesn't belong in a 20-second edit.
Common mistake: culling by chronology instead of by impact. Order comes later — first pick for strength.
2. Build a three-act structure, not a slideshow
Open with a wide establishing shot, build through 12-15 mid-action or candid frames, and close on one emotional or celebratory image. This mirrors how highlight reels for events are structured across weddings, sports, and corporate work.
If you're building reels at scale, a create personalized highlight reels for clients workflow handles this pacing automatically by tagging faces and moments, then assembling the arc for you.
3. Match pacing to a 15-30 second runtime
Count your photos and divide by your target length — roughly one photo per second is the safe default for a punchy edit. Slow it to 1.5 seconds per photo only for emotional closers. Going past 30 seconds drops completion rate fast on Reels in 2026.
Common mistake: holding every photo for the same duration. Vary it — fast cuts on action, longer holds on the final frame.
4. Pick audio that fits the moment, not just what's trending
A wedding recap needs a different energy than a marathon finish-line reel or a music festival wrap-up. Use Instagram's audio library filtered by trending-for-Reels, and confirm the track is licensed for commercial or business accounts if you're posting from a studio profile.
5. Add motion, not just cuts
Static photo-to-photo cuts read flat. A subtle zoom or pan (the classic Ken Burns move) on 4-5 photos adds motion without needing video footage. Most mobile reel editors and AI photo-to-video tools apply this by default — check the preview before exporting.
6. Overlay minimal text
One line at the open (event name, date) and one at the close (a tag or handle) is enough. Overloading a 20-second reel with captions competes with the photos for attention. Keep text on screen for at least 2 seconds if you use it at all — anything shorter is unreadable.
7. Export at 9:16 and check the crop
Export at 1080x1920 minimum. Preview every photo in the vertical frame before finalizing — a wide landscape shot cropped badly at the edges is the single most common reason event recap edits look amateur. Recrop or add blurred-edge padding rather than stretching the image.
Generate recap reels automatically
FotoOwl turns a tagged event gallery into a personalized highlight reel without manual editing.
Troubleshooting
The reel feels slow even though it's under 30 seconds. You're likely holding photos too long or repeating similar angles back to back. Cut the runtime by 3-5 seconds and remove the two weakest frames.
Guest photos never made it into the edit. If attendees are uploading their own shots via WhatsApp or a shared link, pull from the gallery again right before editing — new uploads often land in the last hour of an event.
Instagram flagged or muted the audio. Swap to a track from Instagram's licensed audio library instead of a ripped song file. This is the fastest fix and avoids a copyright strike on a business account.
The video looks cropped or zoomed wrong on mobile. You exported in 16:9 or square instead of 9:16. Re-export vertical — Instagram will letterbox anything else in the Reels feed.
Engagement is flat after 24 hours. You likely posted too late. Recap videos peak while guests are still tagging themselves in the event gallery — post within 24-48 hours of the event ending, not a week later.
Faces are hard to recognize in wide shots. Mix in 3-4 tighter crops of individual faces. A recap that's all wide shots loses the personal connection that drives shares and tags.
Tools and resources
- A culled, tagged photo gallery — face recognition speeds this up when you're sorting hundreds of images down to your top 20
- A reel-editing app on your phone, or an AI reel generator that builds the arc and pacing for you
- Best reel making apps for wedding videographers if you're comparing editing tools before you commit to one
- Licensed audio from Instagram's trending sounds library
- A shared gallery link so guests can drop in their own shots before you finalize the edit
What to do next
Once the recap video is live, the event gallery itself becomes the next deliverable — attendees who watched the Reel will click through looking for their own photos. Make sure that gallery is easy to search and share before you post the recap, not after.
FAQ
What's the best length for an Instagram event recap video?
15-30 seconds is the sweet spot for Instagram Reels in 2026. Anything past 30 seconds drops completion rate sharply, and event recaps rarely need more than that to land the moment.
How many photos should go into a recap reel?
20-30 photos is standard for a 20-second edit at roughly one photo per second. Fewer, stronger photos beat a long slideshow of everything from the event.
Can I use trending audio for a wedding or corporate recap video?
Yes, as long as it's pulled from Instagram's licensed audio library rather than a ripped track. Business and creator accounts have restrictions on unlicensed music that personal accounts don't.
Is a photo-based reel better than filming new video for an event recap?
Photo-based reels work better right after an event because the content already exists — no reshoot needed. Add subtle zoom or pan motion on 4-5 frames to keep it from feeling static.
How do I collect guest photos to include in the recap video?
Set up a shared upload link or WhatsApp-based gallery before the event starts, so guest photos land in one place. Pull the newest uploads right before you edit, since late additions often arrive in the final hour.
What aspect ratio should an Instagram Reel be exported in?
Export at 9:16 vertical, minimum 1080x1920 resolution. Anything exported in 16:9 or square gets letterboxed in the Reels feed and loses full-screen placement.
Can AI generate an event recap reel automatically?
Yes — tools built for event photographers can auto-select, pace, and assemble a highlight reel from a tagged gallery in minutes instead of a manual 30-45 minute edit.
When should I post the recap video after the event?
Post within 24-48 hours while guests are still tagging themselves in the event gallery. Engagement drops sharply once that tagging window closes.
One last thing
Most photographers finalize the recap video, then go find guest photos to add — backwards. The strongest edits pull from a gallery that's already collecting guest uploads live during the event, so by the time you sit down to cut the reel, the best candid shots are already sitting in the folder waiting for you.